Atelier · France
By Alena Amros, Founder & Designer, Lutien Bridal
Price: $10,000+ · Time: 7 months · Difficulty: extreme
A story about a bride and her dress: the story of Whitney's gown, seven months in the making.

Hello, dear brides! Welcome to my favorite series, "How It Was Made, or The Story of One Dress."
In November 2024, my wonderful bride Whitney reached out to me with a request for an incredibly complex gown, inspired by her reference. At first, I wasn't sure she was serious. Sometimes I get requests for something grand, but the bride disappears after the sketch, because the price of a project like this is, of course, higher than the price of a standard dress.
Still, I always look very carefully at every request, even when the dress is AI-generated. You can sew or craft almost anything, really (especially me, with my architecture degree and my cosplay past :)). I studied all the reference photos and videos, made a sketch, picked the fabrics as usual, calculated the price, and wrote to Whitney honestly about all of it.

For about a week or two, there was no answer. But then the answer came, and what an answer: "Yes, I'm in, let's get to work!" Needless to say, I was thrilled. Taking on a project like this was a real pleasure and a joy. We split the payment into six installments and got started.
I'm writing about this in so much detail so that you, my future bride, can picture how work on a project like this moves along. It usually takes from 3 to 8 months, and at that time we were working at a faster pace than usual.
Whitney's Gown, Detail by Detail
Now let's break down Whitney's gown detail by detail, the way I always do before I start work:
- A fitted gown of sheer mesh with long, straight, close-fitting sleeves and a mermaid skirt (with a 25 cm, about 10 in, train on the inner dress)
- A boat neckline in front and a closed back with a zipper
- A second layer of sleeves: floor-length wing sleeves, set into the same armhole as the fitted ones
- A detachable, embroidered 3-meter (about 10 ft) train on a decorative belt
- An embroidered cathedral-length veil, 4.5 meters (about 15 ft) long, with a decorative cap and flowers
The Materials
For this gown, I ordered four kinds of lace elements, sew-on Swarovski crystals in different sizes and shapes, clear Japanese sequins, seed beads and bugle beads (thin glass tubes), two rolls of nude mesh and one roll of milky-white mesh for the veil and the train, and a special nude mesh for the dress itself. It had to be strong, hold the embroidery well, and not stretch.


Swipe →
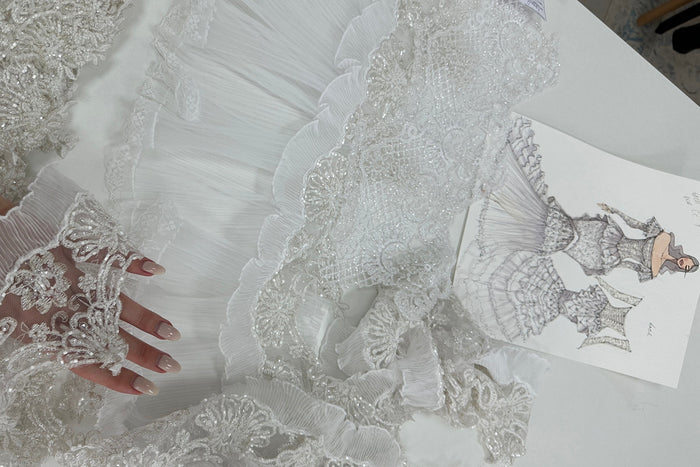
For Whitney, we had to make a well-fitted dress from two layers of nude mesh (unlike the lighter, silvery-gray dress in the reference), and sew the train separately from 10 layers of mesh. The train had to be detachable, because the delicate mesh of the main dress could easily tear if we had sewn the train into the waist seam. Even though it was made of mesh, the train was going to be very heavy because of its length, its layers, and the sheer amount of embroidery. The veil was assembled separately, too.
How the Work Went
A dress like this is first embroidered piece by piece, and only then assembled. First, we drafted the patterns and cut the fitted sleeves, the dress pieces, the long wing sleeves, the train, the veil, and the cap out of mesh. We joined the dress at the side and shoulder seams, but without the sleeves and in a single layer for now, to make the embroidery easier.
Next came a long stretch of preparation: cutting the lace elements out of the fabric, arranging them across the parts of the dress, and pinning them in place. Once the placement of the pattern was pinned, we sent Whitney the first photos for approval, and once she approved, we kept going.


Swipe →
We built the lines and the mass of the embroidery from appliqués and filled the gaps with hand embroidery, adding rhinestones and sequins. All of this work took a little over three months in total.


Swipe →
Once all the embroidered elements were finished, we sewed them together, added the second layer of mesh to the dress, and embroidered the train's belt. At the same time, Irina, a jewelry artist I know, made a headband of sparkling flowers especially to give the veil extra support.


Swipe →
The Finished Gown and the Wedding
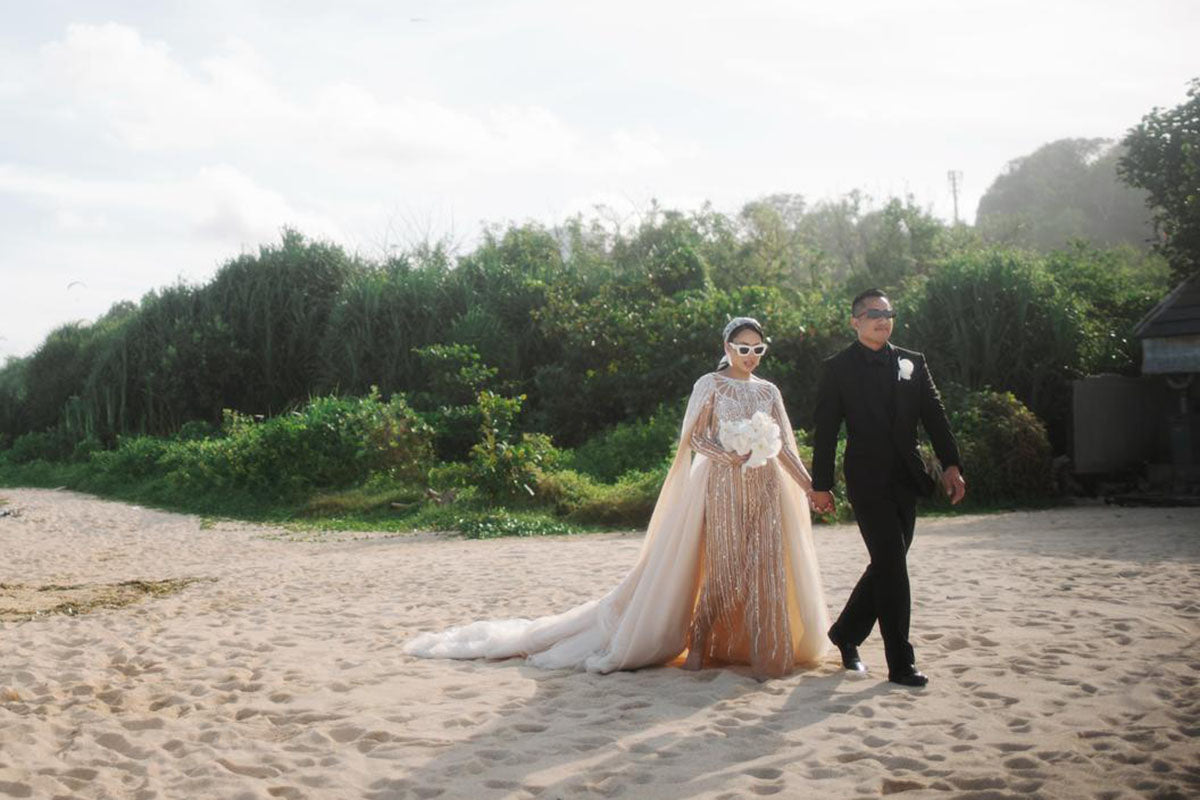
We shipped the dress, and then we received a lovely review and photos from our bride! I'm sharing them here, along with the photographer's credit and our own photos of the finished gown.
"It's perfectly on the waist line 😭😭😭"
"The dress is magical and just, thank you."
"EVERYONE was saying it was the most beautiful dress they've ever seen. You've truly made not only my dream dress a reality, but also a genuine work of art 💜💜"
"genuinely can't believe we pulled this huge huge look off without any in-person meeting. So insane"
Whitney


Swipe →


Wedding photos: Carol Kuntjoro
So if you want something unique, original, and thoughtfully crafted, send me a request through the form on the website, and we'll create the wedding dress of your dreams!
See you in the next stories,
Your designer, Alena Amros 🤍